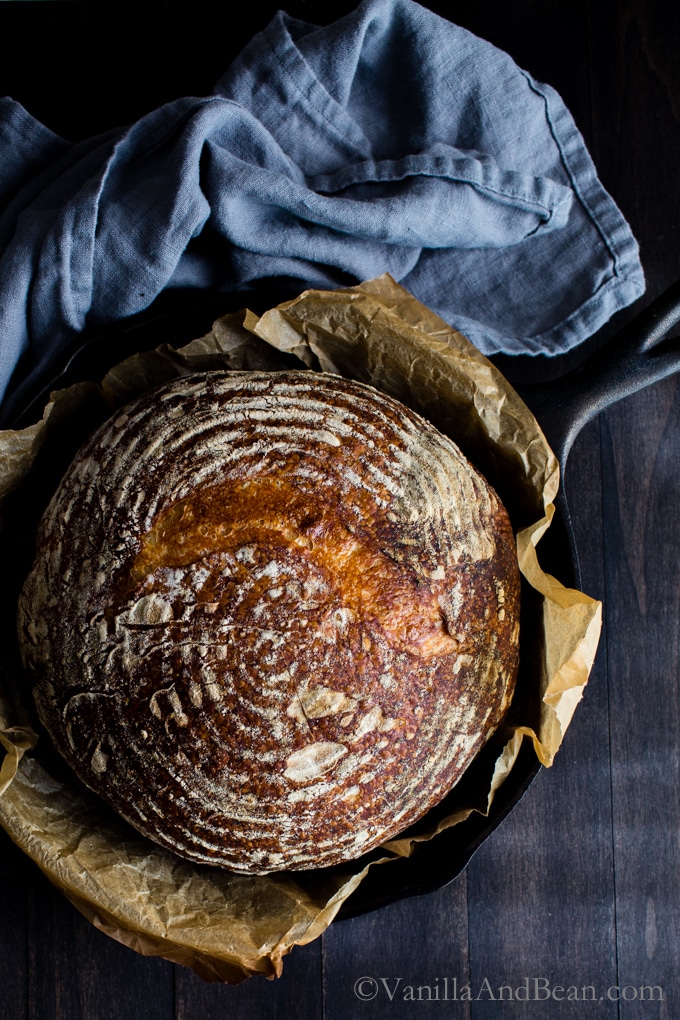
**Advanced Prep Required - you'll need a sourdough starter** New to sourdough or simply improving your craft? Emilie's Everyday Sourdough from her book Artisan Sourdough Made Simple is a fabulous starting point for new sourdough bakers or simply to hone your sourdough skills. This recipe is vegan friendly. (Recipe reprinted with permission). Total time below does not include the amount of time for fermentation and proofing which takes between 8-14 hours, depending on ambient temperature. Got leftover sourdough bread? This loaf makes fabulous Sourdough Croutons. _____________________________Example Bakers Schedule:1. Thursday-Saturday: Feed your starter until bubbly and active. 2. Saturday Evening: Make the dough and let rise overnight. 3. Sunday Morning: Shape the dough, let rise again, score and bake. _____________________________In baking, I recommend weighing ingredients. Volume measurements are offered as a convenience.Lightly adapted from Emilie Raffa's Artisan Sourdough Bread Made Simple.
Recipe by Traci York on November 2, 2017
Cook time: PT60M
Rating
4.87 stars (74 reviews)
Keywords
Homemade Sourdough Bread
Ingredients
1/4 cup (50g) Sourdough Starter (previously fed, active and bubbly)
1 1/3 cup + 2 tablespoons (350g) Warm Water (about 80f (26c))
4 cups (500g) Bread Flour
1 1/2 teaspoons Fine Sea Salt
Categories
Bread
Cuisine
American
Steps
Make the Dough: In the evening, whisk the starter and water together in a large bowl with a fork. Add the flour and salt. Combine until a still dough forms, then finish mixing by hand to fully incorporate the flour. The dough will feel dense and shaggy, and it will stick to your fingers as you go. Scrape off as much as you can. Cover with a damp towel and let rest for 30 minutes. Replenish your starter with fresh flour and water, and store according to preference. After the dough has rested, work the mass into a fairly smooth ball. To do this, grab a portion of the dough and fold it over, pressing your fingertips into the center. Repeat, working your way around the dough until it begins to tighten, about 15 seconds.
Bulk Rise: Cover the bowl with a damp towel and let rise overnight at room temperature. This will take about 8-10 hours at 70F (21C). The dough is ready when it no longer looks dense and has doubled in size. (Traci's Note: Mine generally takes 12-13 hours to rise, but I have a chilly kitchen!).
Shape: In the morning, coax the dough into a lightly floured work surface. To shape it into a round, start at the top and fold the dough over towards the center. Turn the dough slightly and fold over the next section of dough. Repeat until you have come full circle. Flip the dough over and let rest for 5 to 10 minutes. Meanwhile, line an 8-inch (20cm) bowl with a towel (or use a banneton) and dust with flour. With floured hands, gently cup the dough and pull it toward you in a circular motion to tighten its shape. Using a bench scraper, place the dough into the bowl, seam side up.
Second Rise: Cover the bowl and let rest for 30 minutes to 1 hour. The dough is ready when it looks puffy and has risen slightly but has not yet doubled in size. Preheat the oven to 450F (230C). Cut a sheet of parchment paper to fit the size of your baking pot leaving enough excess around the sides to remove the bread. **UPDATE (5.20)** Place a sheet pan on an oven rack directly under the oven rack you'll be baking the bread on. This protects the baking vessel from the intense heat of the oven and helps prevent a too-dark or burnt bottom. (See notes for more information).
Score: Place the parchment over the dough and invert the bowl to release. Sprinkle the dough with flour and gently run the surface with your hands. Using the tip of a small, serrated knife or a razor blade, score the dough with a cross-cut pattern about 1/3" (8mm) deep and about 2-3" (5-7cm) on the top or any way you like. Use the parchment to transfer the dough to the baking pot.
Bake: Bake the dough on the center rack for 20 minutes, covered. Remove the lid and continue to bake for 30 minutes. Then, carefully remove the loaf from the pot and bake directly on the oven rack for the last 10 minutes to crisp the crust. (To check if the bread is ready, check the internal temperature of the loaf. It should read between 190F-205F when done.) When finished, transfer to a wire rack. Cool for 1 hour before slicing. Sourdough is best consumed on the same day it's baked. To maximize freshness, cool completely and store at room temperature in a plastic bag for up to one day (My sourdough is generally storing for between 3-4 days.)
Nutitrion
Serving Size: 1 loaf
Calories: 1851 kcal
Carbohydrates: 372 g
Protein: 61 g
Fat: 8 g
Saturated Fat: 1 g
Sodium: 3516 mg
Sugar: 2 g
Unsaturated Fat: 5 g
Reviews
Marya on 2026-05-22 (5 stars): I have made this recipe several times and when I share my starter with friends, I always give a cope of Emilie's book. There are now 7 of us enjoying the fun of making sour dough!
Elizabeth on 2026-01-03 (5 stars): I’ve recently started making sourdough loaves following the precise instructions you provided, and I’m happy with the results. I use two baking trays under the Dutch oven to prevent the bottom of the bread from browning too much, and it works perfectly.
Now I’d like to add sun-dried tomatoes (and perhaps some olives) to my loaf, but I’m not sure at which stage of the process I should incorporate them. Any advice would be greatly appreciated!
elizabeth on 2025-12-31 (5 stars): So delighted with my first loaf of bread, thanks to your recipe!!!!!! I followed each instruction precisely and now I'm starting to prepare for my second loaf. A question, How much flour and water do I add to replenish the starter? Do I use the 1:1:1: ratio?
Kimberly on 2025-11-25 (5 stars): About how long do you think it’ll take to reach 50-60%? Thank you!!
Kimberly on 2025-11-25 (5 stars): Hi! I make this recipe all the time as-is and it always comes out amazing! My question is if I want to put it in the fridge when would I do that? I always let it bulk rise overnight on the counter and bake in the morning but there’s times when I might not be able to bake until the afternoon and I don’t think I should leave it on the counter that long…
Kim on 2025-02-15 (5 stars): My best sourdough came out with this recipe. Will you post others with add ins for sweet sourdough and also chocolate sourdough? Other recipes don’t give me good results.
Kimmie on 2025-01-31 (4 stars): After mixing my dough and it was shaggy there was a ton of flour stuck on the edges of my bowl. Did I mess up?
Patrick G on 2025-01-09 (5 stars): I've made this recipe several times now and it's quite nice. I'm using a mixer to kneed and my texture comes out with less large bubbles but it's always moist and springy. I've had to adjust my times and temp I have a convection oven and also use a Dutch oven with legs. I'm going 400f for 20 min covered 10- 15 min uncovered and 10 in the rack. I get a crispy crust that cuts easier. I also cut a disc of corrugated cardboard covered in several layers of foil that fits my Dutch oven and the bottom comes out very nicely no burning.