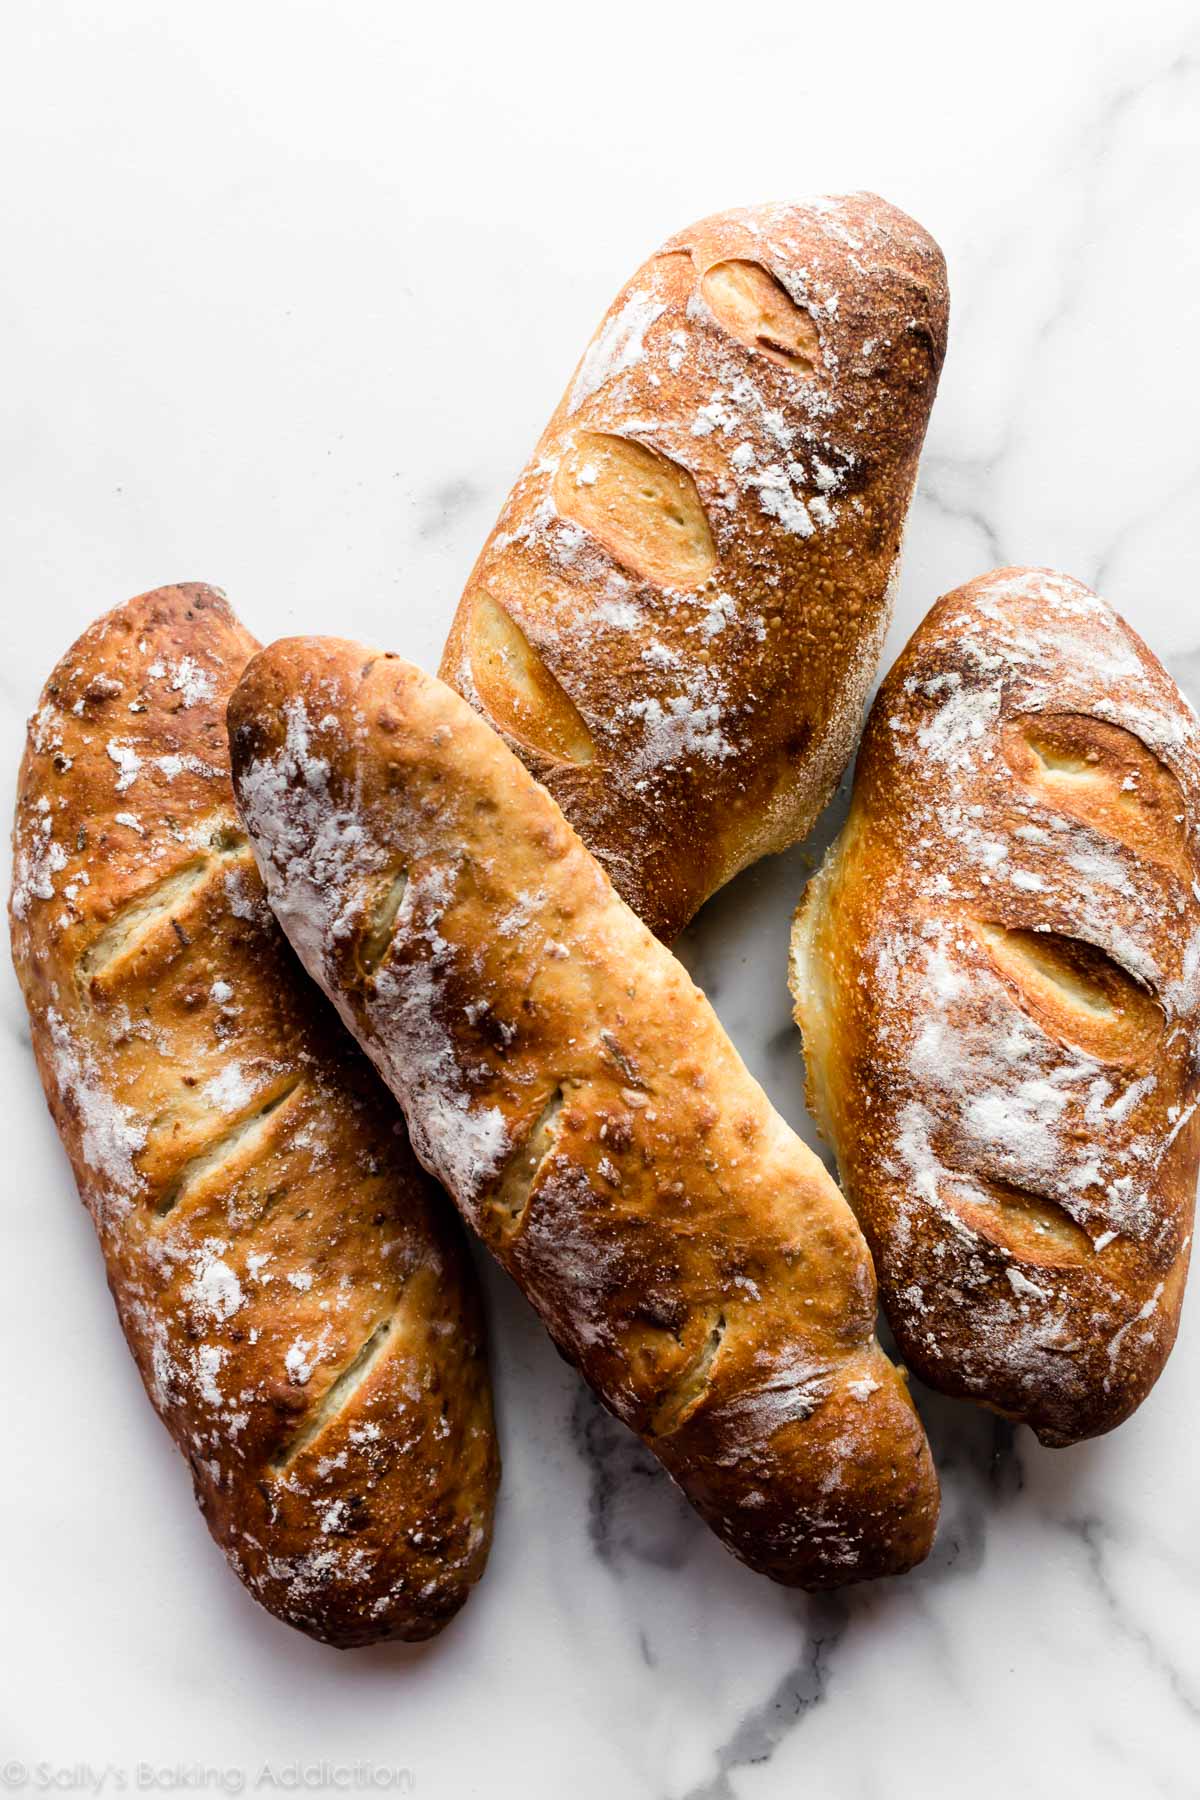
Even if you've never made homemade bread or worked with yeast before, this homemade artisan bread is for you. Watch the video tutorial below and review the recipe instructions and recipe notes prior to beginning. If you’re new to working with yeast, reference my Baking with Yeast Guide for answers to common yeast FAQs.
Recipe by Sally on January 1, 2020
Prep time: PT4H
Cook time: PT25M
Total time: PT4H25M
Rating
4.8 stars ( reviews)
Keywords
bread, loaf
Ingredients
3 and 1/4 cups (about 430g) bread flour (spooned & leveled), plus more for hands and pan
2 teaspoons (about 6g) instant yeast
2 teaspoons (about 9g) coarse salt (see note)
1 and 1/2 cups (360ml) water, close to room temperature at about 70°F (21°C)
optional: cornmeal for dusting pan
Categories
Bread
Cuisine
American
Steps
In a large ungreased mixing bowl, whisk the flour, yeast, and salt together. Pour in the water and gently mix together with a silicone spatula or wooden spoon. The dough will seem dry and shaggy, but keep working it until all the flour is moistened. If needed, use your hands (as I do in the video tutorial below) to work the dough ingredients together. The dough will be sticky. Shape into a ball in the bowl as best you can.
Keeping the dough in the bowl, cover the dough tightly with plastic wrap or aluminum foil and set on the counter at room temperature (honestly any normal room temperature is fine!). Allow to rise for 2-3 hours. The dough will just about double in size, stick to the sides of the bowl, and have a lot of air bubbles.
You can continue with step 4 immediately, but for absolute best flavor and texture, I strongly recommend letting this risen dough rest in the refrigerator for at least 12 hours and up to 3 days. Place covered dough in the refrigerator for 12 hours – 3 days. I usually let it rest in the refrigerator for about 18 hours. The dough will puff up during this time, but may begin to deflate after 2 days. That’s fine and normal—nothing to worry about.
Lightly dust a large nonstick baking sheet (with or without rims and make sure it’s nonstick) with flour and/or cornmeal. Turn the cold dough out onto a floured work surface. Using a sharp knife or bench scraper, cut dough in half. Some air bubbles will deflate as you work with it. Place dough halves on prepared baking sheet. Using floured hands, shape into 2 long loaves about 9×3 inches each (doesn’t have to be exact) about 3 inches apart. Loosely cover and allow to rest for 45 minutes. You will bake the dough on this prepared baking sheet.
During this 45 minutes, preheat the oven to 475°F (246°C).
When ready to bake, using a very sharp knife or bread lame (some even use kitchen shears), score the bread loaves with 3 slashes, about 1/2 inch deep. (“Score” = shallow cut.) If the shaped loaves flattened out during the 45 minutes, use floured hands to narrow them out along the sides again.
Optional for a slightly crispier crust: After the oven is preheated and bread is scored, place a shallow metal or cast iron baking pan or skillet (I usually use a metal 9×13-inch baking pan) on the bottom oven rack. Carefully and quickly pour 3-4 cups of boiling water into it. Place the scored dough/baking pan on a higher rack and quickly shut the oven, trapping the steam inside. The steam helps create a crispier crust.
Place the shaped and scored dough (on the flour/cornmeal dusted pan) in the preheated oven on the center rack. Bake for 20-25 minutes or until the crust is golden brown. Gently tap the loaves—if they sound hollow, the bread is done. For a more accurate test of doneness, the bread is done when an instant read thermometer inserted in the center reads 195°F (90°C).
Remove the bread from the oven and allow to cool for at least 20 minutes before slicing and serving. Store leftovers loosely covered at room temperature for up to 5 days or in the refrigerator for up to 1 week.
Nutitrion
Serving Size: 2 slices
Calories: 136 calories
Carbohydrates: 27.2 g
Protein: 4.7 g
Fat: 0.7 g
Saturated Fat: 0.1 g
Trans Fat: 0 g
Cholesterol: 0 mg
Sodium: 389.8 mg
Sugar: 0.1 g
Reviews
Lily Allenbach on 2026-06-19 (5 stars): Made two beautiful loaves of bread that tasted delicious. Made it this morning, for my family of four and it is now 3:30 PM and I have only about a quarter of one loaf left. Everyone has been walking by and cutting off pieces all day, it’s that good. They LOVED it and you will too!! Super easy too and was my first time baking bread.